1987 MK 1 Catalina 34 Manuals and Paper Charts Storage
By Jon Windt; Della Jean
NOTE - Before doing any projects, I highly recommend that you first go through the “Critical Upgrades” list and verify that your boat has all of the applicable items addressed. There is a link on the Message Board (copied here) entitled “CRITICAL UPGRADES – DO THESE OR ELSE!!!” that will take you to them. A good way to both learn your boat and make sure it is safe.
Contents
Storage
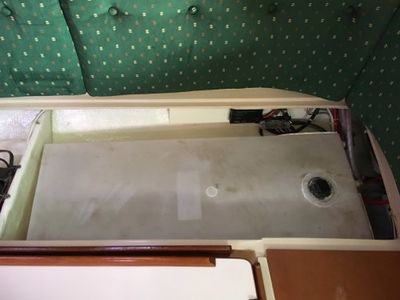
I purchased my 1987 MK 1 Catalina 34, hull #493 in April 2015. A great boat, but usable storage from the factory is limited. I have parts manuals I want to keep on the boat, but needed a place to store them. The top of the starboard water tank under the sette, has enough empty space. Putting them here they would be easy to get to, but out of the way of day to day activities. See Photo (1).
Materials Used
- 1/4” Plywood sanded both sides, 16 ½” x 4 ½”.
- 1x5” Pine boards.
- 8 x #6 x 2” long SST flat head screws.
- 2 x #6 x 1 1/4” long SST flat head screws.
- 2 x #6 x 1” long SST flat head screws.
- 25 x #6 x 3/4” long SST flat head screws.
- 2 x #10-24 x 1 ½” long Truss head SST screws.
- 2 x #10-24 Nyloc SST nuts.
- 2 x #10 SST Flat Washers.
- White KILZ primer sealant paint.
- White Interior/Exterior Semi-Gloss paint.
Making the Storage Bin
The length and width dimension of the storage are 34” length x 18” wide. The depth varies from 3 ½” on the inboard side to 3” on the outboard side to maximize storage but still fit under the lip for the lid. The small section will be for the paper charts, and is 3 1/16” wide. The sides and paper chart partition are made from 1x5” pine boards. The bottom is made from the1/4” plywood.
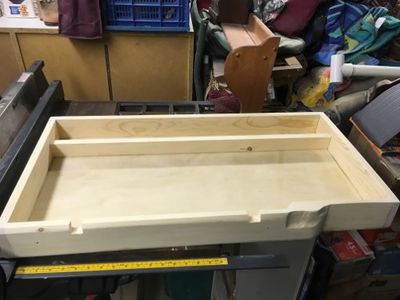
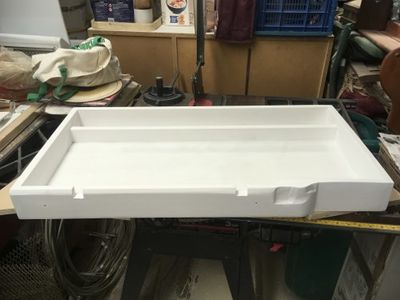
In Photo (2) of the inboard edge of the storage bin where you can see two notches, a shaped recess area, and a jog. The notches are to give clearance to the screws holding the Teak trim the table rests in when lowered into a double berth. The shaped recess area is to give clearance to uneven surfaces in the fiberglass, and the jog is to step around the battery compartment. A lot more creative sanding and shaping than I originally thought.
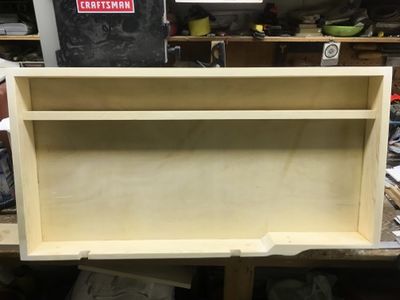
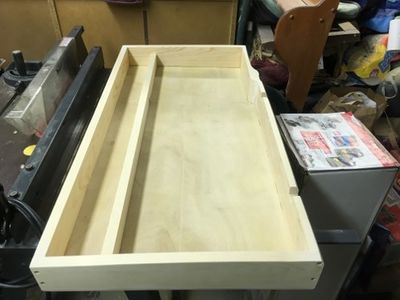
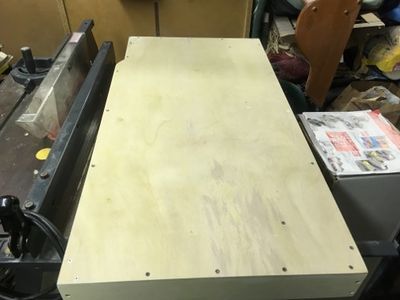
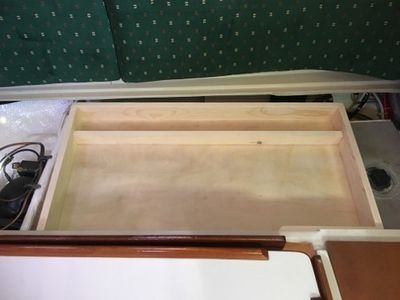
Photos (3), (4), and (5) show the different views of the unpainted storage bin.
Test Fit
Mounting the storage shelf was straight forward. To avoid chafe wearing a hole in the top of the water tank over time, I put a gray foam pad between the tank and the storage bin. See Photo (6)
Photo (7) shows the storage bin installed on top of the foam pad and water tank. The top surface of the storage bin is below the recessed lip the cover for the water tank access lid rests on. The black circle on the right of the storage bin is the access plug into the water tank.
Painting and Installing The Storage Bin
With the test fit complete and adjustments made, I applied a coat of Kilz brand white primer. See Photo (8).
Photo (9) shows the final assembly painted with interior/exterior semi gloss enamel paint and installed on top of the water tank with the foam pad in between the tank and the storage bin. The storage bin is fastened to the boat using two #10-24 x 1 ½ long Truss head SST screws, washers and Nyloc nuts through the sette’s vertical bulkhead just below the Teak trim.
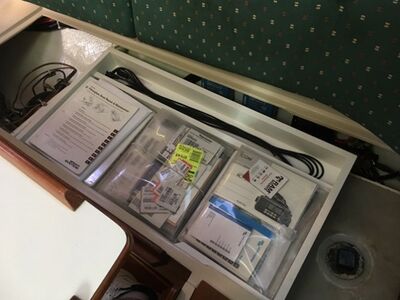
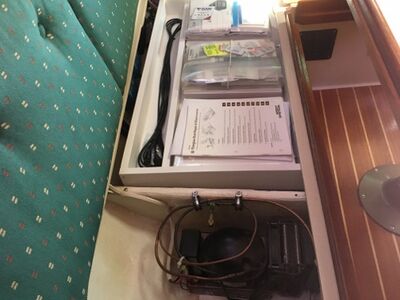
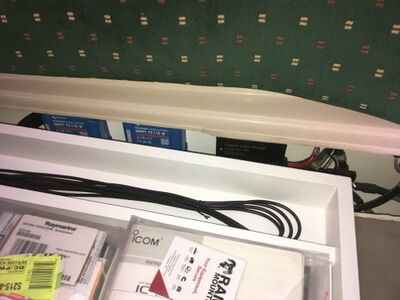
Photo (10) shows the final assembly filled with one large and one standard size 3 ring notebook, two clear 8 ½ x 11” folders full of more parts manuals, and an extension cable for my ICOM CommandMic. Rolled up paper charts can also fit in this space. In the gap below the sette back cushion, and between the new storage bin and the liner of the sette, you can see one black box and two blue boxes mounted to a vertical piece of wood. The black box is the Digital Echo charger for my reserve battery, and the two blue boxes are the Victron Energy MPPT charge controllers for the two solar panels I just added in 2020.
Photo (11) shows another view of the final assembly. The fridge compressor installed before
I purchased the boat is in the foreground.
When I do routine system checks, I check that the lights are on so it’s important that they continue to be visible without moving or removing anything. In Photo (12) you can see that the green status light of the Digital Echo Charger is visible above the top edge of the storage bin with the storage bin fastened in place. The two Victron MPPT Charge Controllers are also visible to the left of the Echo Charger.
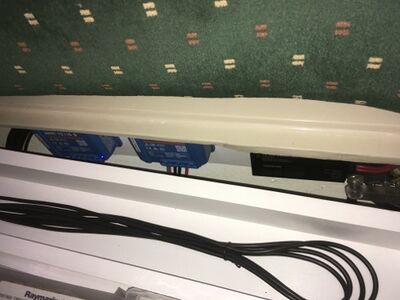
In Photo (13) the blue status light of the Victron Energy MPPT Charge Controllers are visible above the top edge of the storage bin when the storage bin is fastened in place. They are blinking lights so only one light was captured when I took the photo.
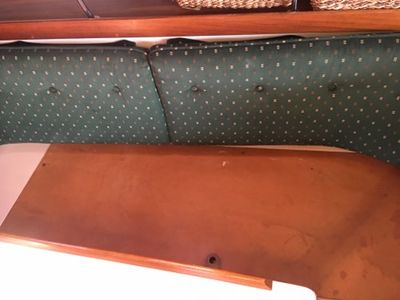
The last photo of this project is photo (14) showing the original lid reinstalled before putting the cushions back in place.
PDF of This Write-Up
I've attached a copy of this complete write-up in a PDF format for reference. All links have been removed from the PDF.
