Raw water pump, impellers and cooling system
Raw Water Pump
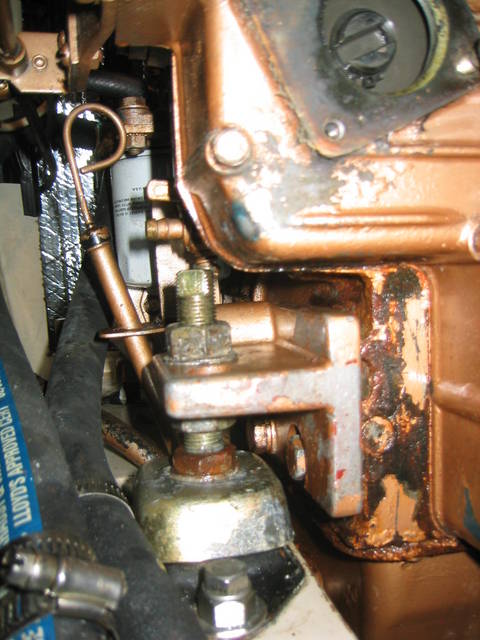
If your raw water pump starts to leak out of the weep hole of the pump chassis, it can rust out the engine mount and oil pan.
Rust damage from leaking raw water pump

Rebuilding An Oberdorfer Pump:
This is Ron Hill's Tech Note article from the May 2002 Mainsheet
Model: Oberdorfer Pump 202M-15 (replaced by model N202M-15)
If your raw water pump is leaking
water or oil from the weep hole in the
center of the pump body, a rebuild is in
order. If the oil side leak continues, you’ll
have a messy engine. If a salt-water leak
continues, it WILL rust out the oil pan!
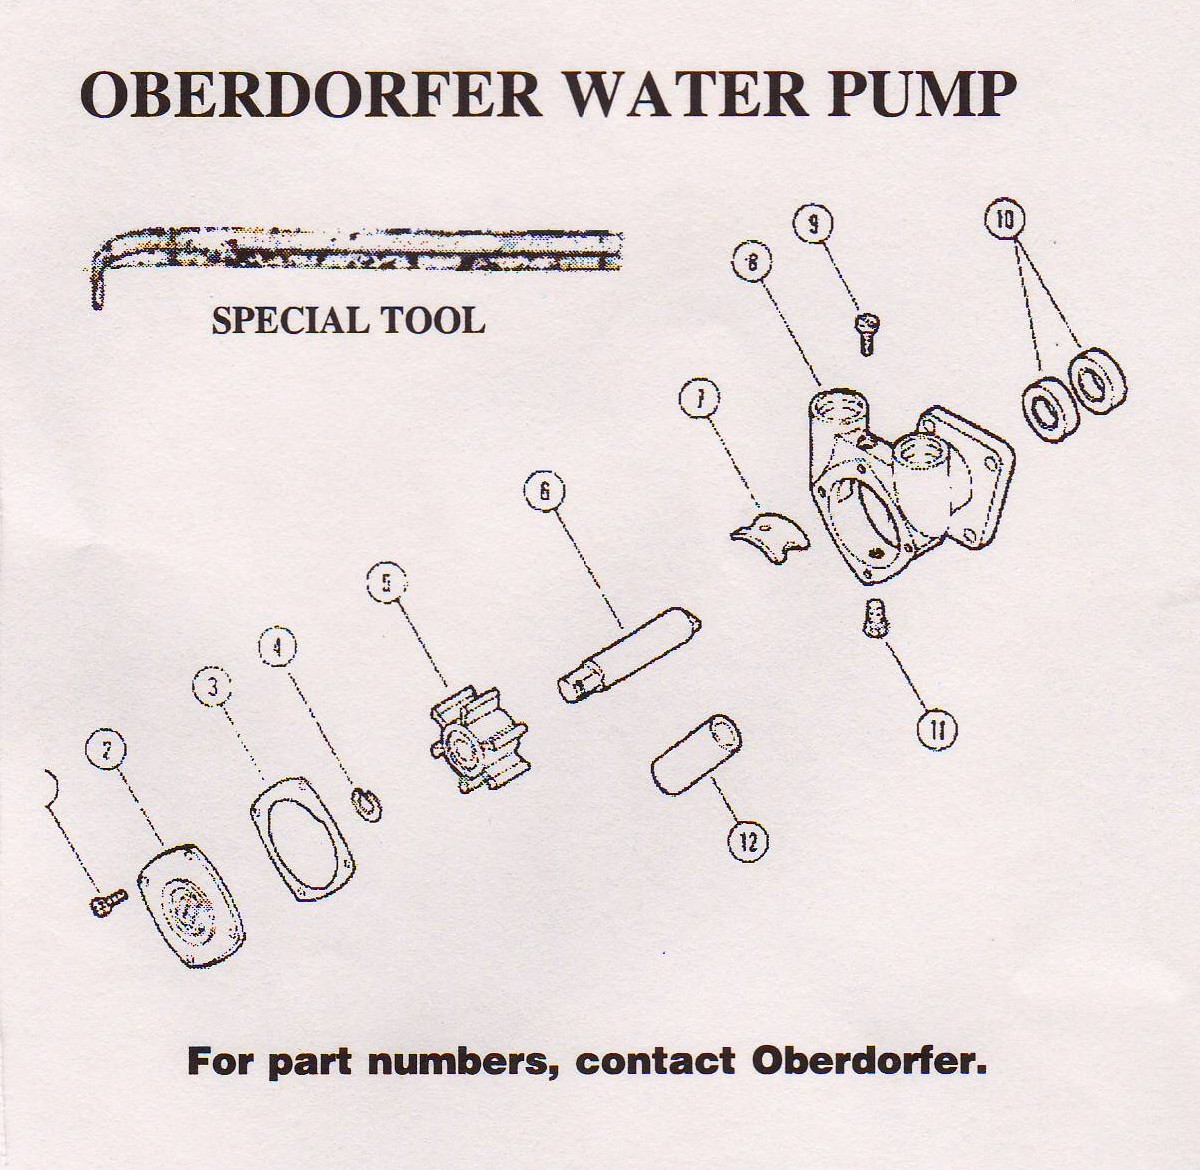
The parts that you’ll need are two oil seals
(#10) Part # 295627. If the shaft has 500+
hours it will probably also need to be
replaced. Inspect the pump shaft (#6)Part #301788, and note if it is scored in the
oil seal area. For a more extensive rebuild,
you might need to replace the carbon
bushing if the shaft wobbles (#12) Part #302322.
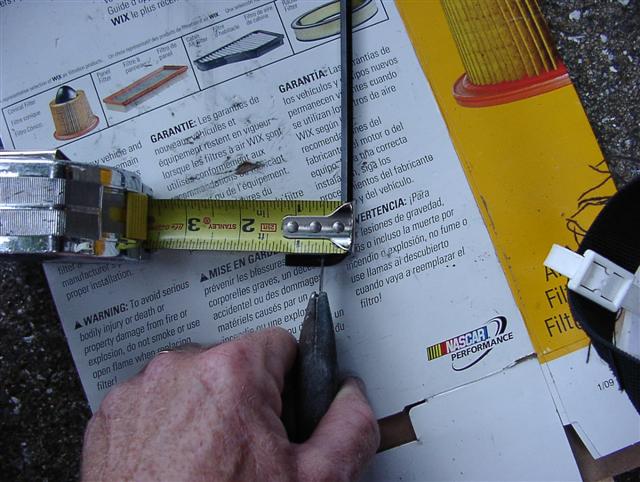
Take the entire pump off the engine. Remove the pump cover faceplate (#2) and the impeller & pump shaft. If you make yourself a special tool out of an old 1/4" Allen Hex Head Wrench, the job will go much faster and easier. Cut the short end of the hex wrench so it is only 9/16" long (outside tip to back). Then grind down that tip until it is only 1/16" thick and round off the corners of the tip. Place the pump between two 2 x 4s with the engine side of the pump facing down. The 2 x 4s should be separated so the center hole in the pump is between them. Place the special tool on the top of the lowest oil seal and tap on all four sides with a hammer until it slides out. With the lowest seal out, use the same procedure on the upper oil seal. Although the upper seal is called an oil seal, it really keeps the water in the pump. The lower seal keeps the oil in the engine. Be careful not to damage the carbon bushing that keeps the shaft centered. The special tool tip should be short enough so you keep from scoring the inside wall of the pump.
Before you replace the two oil seals, clean and inspect the inside pump wall. Apply a thin coating of "Permatex" #2 non-hardening gasket sealant. This coating serves two purposes. First it will seal any scratches (scores put in the wall by a boat yard mechanic who rebuilt the pump by beating the seals out with a screwdriver!). It will also serve as a lubricant to help the new seals slide in easier.
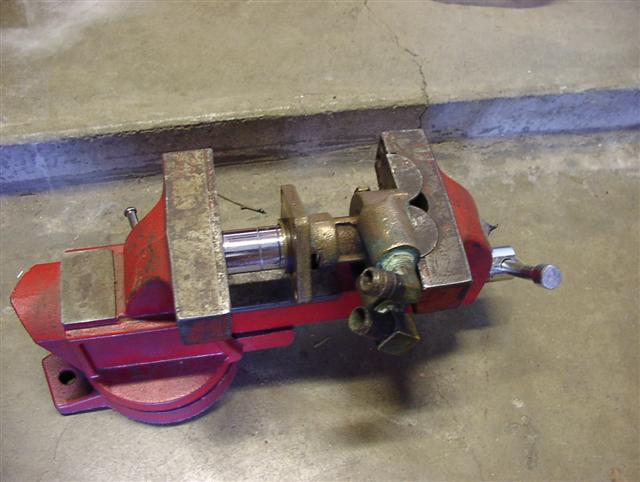
Turn the pump engine side up. Find a socket that just fits inside the pump wall (probably about a 3/4" size). When replacing the seals, the lettering and numbers should face each other. There are two ways to reinstall the seals. One is by pressing them with a vice (if you have a Optional glass Optional "swinging" vice with a large enough opening) or retainer pegs glass retainer tabs tapping them in with a hammer. Place the first seal on the pump hole with the flat side of the socket on the seal. Make sure you use the largest socket that will match the diameter of the seal so you don’t damage the seal case. Then press or tap in place. You want the seal toward the impeller side to just go past the weep holes (so it is easier to get out next time). Then recoat with #2 "Permatex" and install the second seal. The second seal needs to go into the pump hole so it is in solidly, but not all the way into the weep hole area. When reassembling the pump, don’t forget to inspect the pump cover (faceplate) for grooves made by the impeller. Take the faceplate and use some wet #400 sandpaper on a flat surface and smooth out the ridges. You can also take the cover to a machine shop and they will reface it for you for about $5. If you take it to a machine shop, have them do both sides of the plate. That way the next time all you have to do is turn the plate around and you’re ready to go. Finally, reinstall the faceplate with a PAPERTHIN gasket (#3) Part # 295626. . Use a thicker gasket and you won’t have an efficient pump and the temperature will probably go up. I haven’t tried my tool on a Sherwood pump, but I’m sure that it will also facilitate in its rebuild. —Ron Hill APACHE #788
Contact Depco at (800) 445-1656 for ordering replacement parts.
Installing Seals using a vice as a press

NOTE: There is a post on the Main Message Board with additional pictures: http://c34.org/bbs/index.php/topic,6766.0.html [Stu - 10/19/2013]

