Sink Access
How to gain access to the back of your galley sink
By Lance Jones, Kitty's Cat #622 (1988)
I recently had Kitty's Cat surveyed. During the survey, I followed the surveyor around and when he had difficulty getting to the faucet to check a fitting, it gave me an idea. I also wanted to do some of the great sink upgrades on the C-34 Association's project page; but, had trouble getting to the sink bottom from the two access points through the drawer and hot water heater door. So, after checking with the admiral, I set off to add an access point behind the galley sink.
Tools: Dremel tool, cutting bit, cutting guide, cutting wheel, sanding stone bit, sanding block with 80 grit paper, and a Phillips screw driver.
Parts: Sure Seal Hatch (T-H MARINE HAT-1324-2-DP)and #6 self tapping screws.
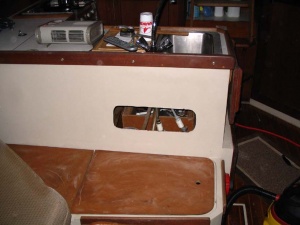
Initially, I measured an area 7 x 18 inches that was centered on the back of the sink and located roughly at what I thought was the bottom of the sink. My next step was to mark out the area.
The cutting begins!
I used a cutting bit with a cutting guide on the Dremel. The guide would allow me to vary the depth of the cut without worrying about cutting a hose hidden behind the seat. I had to make two cut laps as I didn't cut deep enough the first time around -- better safe than sorry.
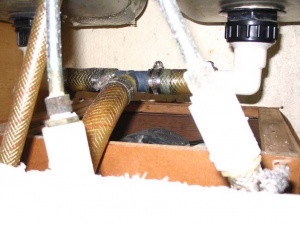
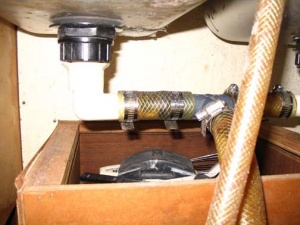
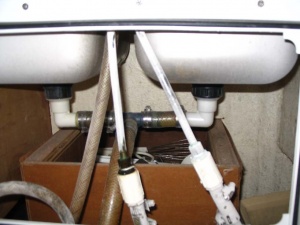
After the panel was out, I was AMAZED at how much access this gave me. I could reach everything I need to reach -- the drains, hot water heater, faucet hoses and more.
My next step was to smooth the rough edges on the cut. I switched to a sanding stone for the Dremel. After a few passes with the stone, I followed up with a sanding block and 80 grit paper. At this point, I was planning on leaving the access panel open and line the edges with edge guard similar to the cubby areas behind the port and starboard settees. I was at a good stopping point for now.
When I got home, like a 1st grader showing his mom his brand new finger painting masterpiece, I showed the admiral the photos. She liked the access and the peace of mind it gave knowing we could easily get to any leak that might develop behind the sink. However she didn't like the way it looked. She grudgingly agreed to my current plan because it was hidden behind the cushion.
The next day I proudly posted my pictures on the C-34 forum. To my surprise, many of these great members agreed with my wife. They suggested I cover it with a hatch. When these folks AND the admiral agree, I suspected that my logic might be a bit off. So, I orderd a Sure Seal Hatch (T-H MARINE HAT-1324-2-DP) from West Marine. The access area will have to be enlarged to accept the hatch as it is a bit bigger than the original cut out.
The hatch comes with a template that once cut out, is great for figuring out exactly where you want to cut. I wound up cutting an additional 3 inches or so. Unlike the first time I cut the seat back, this time I could see/feel where all the hoses were. So, I used a cutting wheel on my Dremel. The cutting went much quicker and was a cleaner cut.
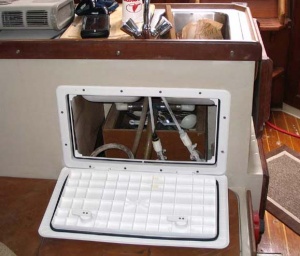
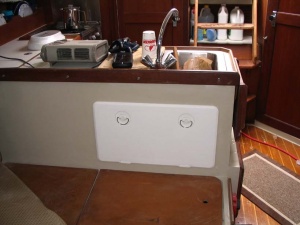
Once the newly cut panel was out, I test fit the hatch and then marked for the screws. After the holes were drilled, I used #6 self tapping screws to mount the hatch. After mounting and clean up, I put the cushions in place. It looks great.
When the hatch is open, it gives you complete access to the sink, hoses and water heater.


