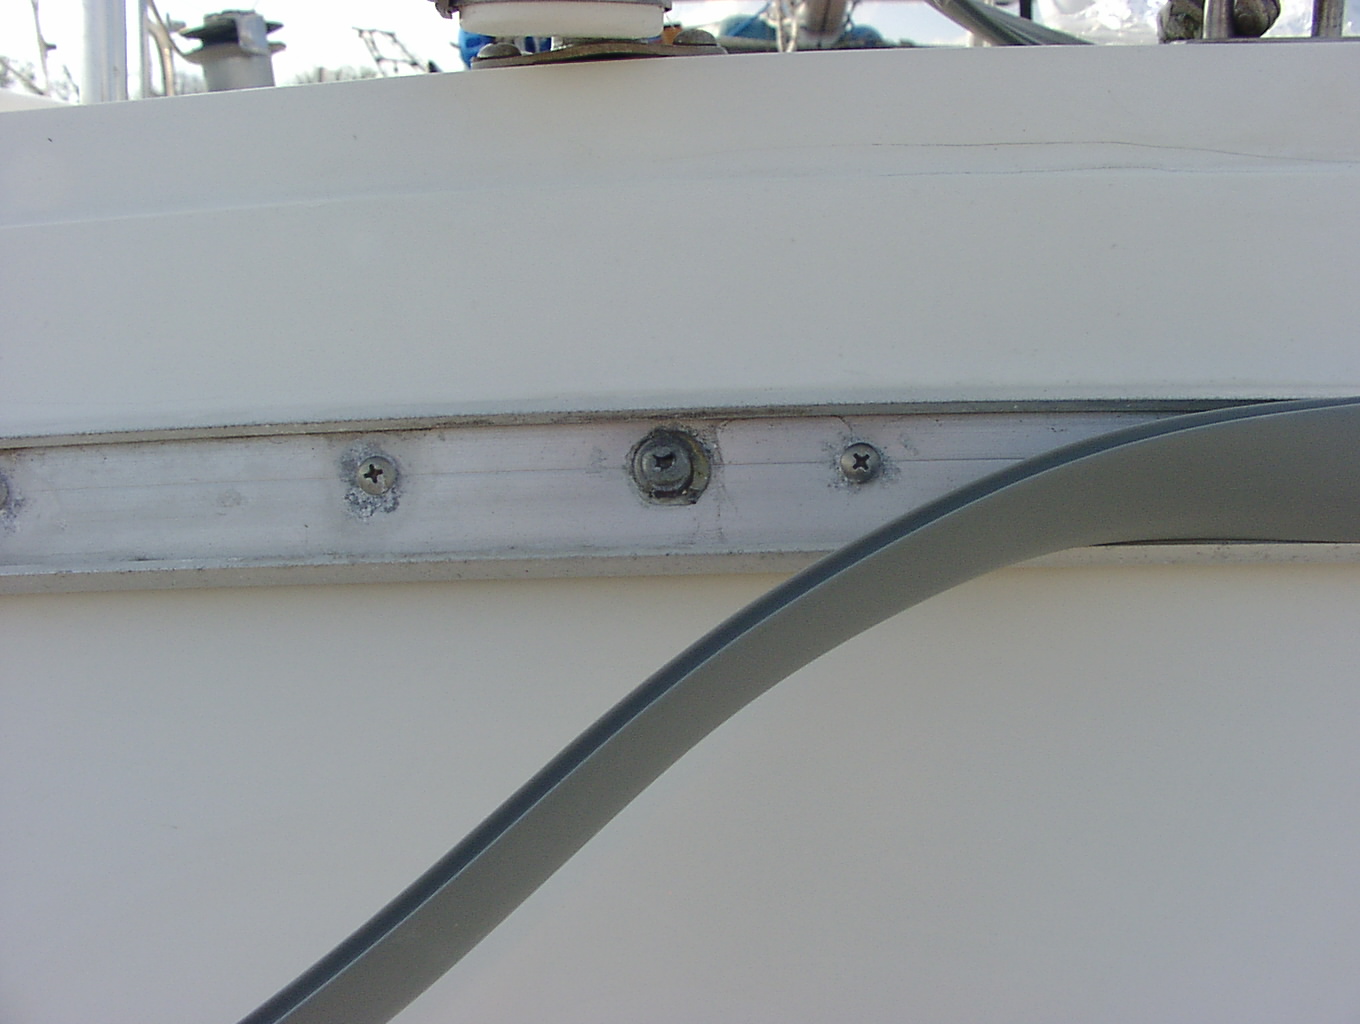
Rubrail Replacement
Replacing the entire rubrail. We just replaced our tan rubrail with a gray one ordered from CatalinaDirect.com after the rubrail took a sever beating during hurricane Ike here on the gulf coast. The rubrail was intact, but had gouges and cuts in it and I tried first to reinsert the old rubrail back into the track with some success but it had shrunk in length and I had a devil of a time getting it back into the track without tearing it. While it stayed in the track, it looked less than pretty and so I decided to try and cut out the bad sections and splice in pieces I obtained from a salvage totaled C30. While the color matched pretty well the rub rail would not stay securely in the track. If anything rubbed against it it would come out of the aluminum track easily. So we ordered a new gray one from catalinadirect to match the grey nonskid on the deck. We also replaced 12' worth of the aluminum track at three places around the boat also purchased from catalinadirect. The job is straight forward. The seam is in the center of the transom track and each end is held in place by a #10 SS screw. Just remove the 2 screws and use a flat head screw driver to lift one end of the rubrail from the track to get a hold of it and then just pull. It comes out quite easily. To install, take on end of the new rub rail and drill a hole in the end of the rubrail slightly smaller than the screw and screw down in the original hole in the transom track. Now come the fun part! Unroll the rubrail around the perimeter of the boat placing it between the stanchions and the toe rail. I also used blue painters tape to anchor the rubrail to each stanchion to keep it from falling. You can either work from a dingy and work around the boat upright or work from the deck hanging over the edge. I found it easier to insert the bottom edge of the rubrail into the track first and then push/squeeze the top edge of the rubrail down below the top edge of the track and then push it in. You will have to support the free end of the rubrail, otherwise its weight will easily pull the rubrail from the track (remember how easy it was to pull the old rubrail from the track?). Continue around the entire boat squeezing and pushing the rubrail into the track ( did I mention this was fun!) until you reach the start at the center of the transom. Overlap the free end of the rubrail over the start and add an inch for shrinkage and then mark and cut with a sharp utility knife. Now drill a hole for the finish screw after measuring the distance from the start edge of the rubrail to the finish screw hole. Slide the rubrail over enough to get it to butt up to the start of the rubrail and insert the screw through the hole in the end of the rubrail and into the remaining existing hole in the track. It took me about 1 hour to insert the rubrail into the track working from a scaffold while we had the boat out of the water for other repairs to the hull and toe rail.