Difference between revisions of "Double Bow Roller for my C34"
Pablosgirl (talk | contribs) |
Pablosgirl (talk | contribs) |
||
| Line 4: | Line 4: | ||
vertical Phillips head bolt from the existing fitting and aligned the inside forward hole of the CRM-l over the top of that hole and reused the Phillips heat bolt to secure the CRM-1 to the bow. The bow pulpit was not quite uniform in its mounting, so I ended up grinding the aft starboard corner of the starboard bow roller. Unlike Ron, I did not contour the inside lip of the bow rollers to the existing fore stay fitting. I had positioned the bow rollers further aft to get a larger contact area with the boat, and did not want to weaken the new rollers by removing this metal. I used the metal removed from the original bow rollers as backing plates for the aft two bolts of the new rollers. I next secured the CRM-1 horizontally to the head stay fitting by a 3/8” bolt through a hole drilled in the inside vertical lip of the CRM-l to the existing hole left by the removal of the old roller, as Ron did. To further stiffen the bow roller, I wanted to tie the two rollers together at the roller bolt. I removed the roller bolts from the CRM-1 and bought a 12" SS bolt of the same diameter and fabricated a spacer that fit between the two bow rollers from a 1/2 inch piece of SS tubing. I then threaded the new longer bolt through the two bow rollers placing the spacer between them. I included the security bails that came with both of the bow rollers. | vertical Phillips head bolt from the existing fitting and aligned the inside forward hole of the CRM-l over the top of that hole and reused the Phillips heat bolt to secure the CRM-1 to the bow. The bow pulpit was not quite uniform in its mounting, so I ended up grinding the aft starboard corner of the starboard bow roller. Unlike Ron, I did not contour the inside lip of the bow rollers to the existing fore stay fitting. I had positioned the bow rollers further aft to get a larger contact area with the boat, and did not want to weaken the new rollers by removing this metal. I used the metal removed from the original bow rollers as backing plates for the aft two bolts of the new rollers. I next secured the CRM-1 horizontally to the head stay fitting by a 3/8” bolt through a hole drilled in the inside vertical lip of the CRM-l to the existing hole left by the removal of the old roller, as Ron did. To further stiffen the bow roller, I wanted to tie the two rollers together at the roller bolt. I removed the roller bolts from the CRM-1 and bought a 12" SS bolt of the same diameter and fabricated a spacer that fit between the two bow rollers from a 1/2 inch piece of SS tubing. I then threaded the new longer bolt through the two bow rollers placing the spacer between them. I included the security bails that came with both of the bow rollers. | ||
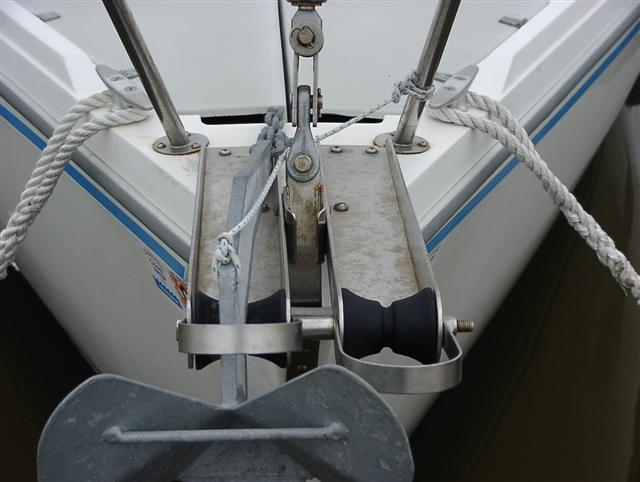
| − | [[Bow_view.JPG]] | + | [[Image:Bow_view.JPG]] |
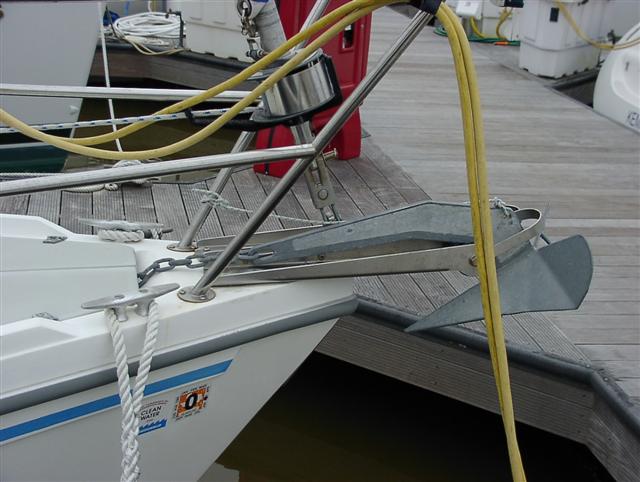
| − | [[Starboard_view.JPG]] | + | [[Image:Starboard_view.JPG]] |
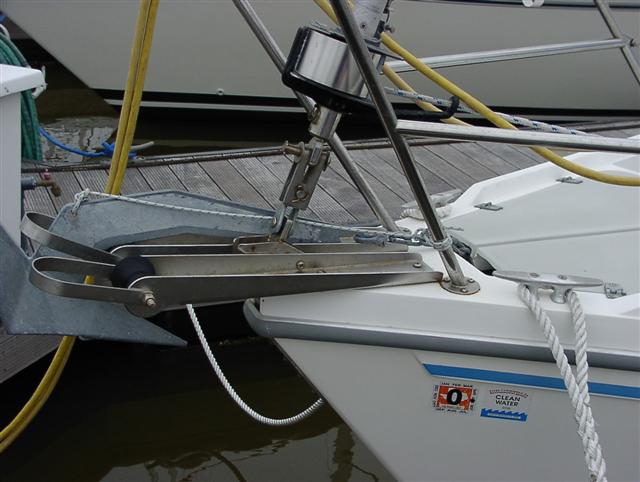
| − | [[Port_view.JPG]] | + | [[Image:Port_view.JPG]] |
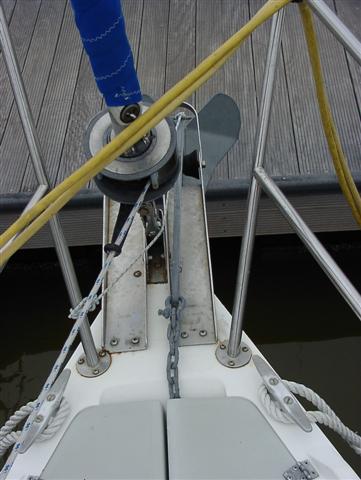
| − | [[Pulpit_view.JPG]] | + | [[Image:Pulpit_view.JPG]] |
| − | [[Image: | + | [[Image:Forestay_detail.JPG]] |
Revision as of 11:58, 10 February 2010
Double Bow Roller
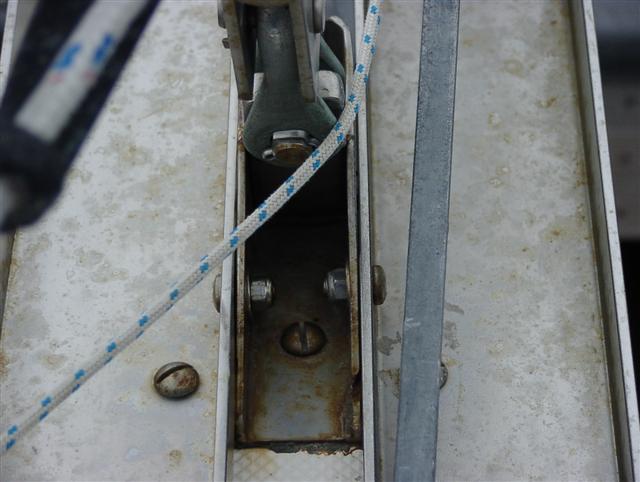
My 1988 C34 came with the two small bow rollers. One roller integrated on either side of the head stay/bow fitting. I realized that the small bow rollers were not going to be able to keep the new Delta 35# anchor I bought from scratching the gel-coat of the bow. I needed a larger bow roller to accommodate the new plow anchor. The PO had already performed Ron Hill's 2 bow cleat project. I used Ron Hill's Anchor Roller project from the May 1995 Mainsheet as a go by, But decided to do both sides to get a double bow roller. I used two Windline CRM-1 plow anchor rollers. First I had to remove the factory single bow cleat since its 4 bolt feet would interfere with where I wanted to position the new bow rollers. I ground off the outside lip of each of the existing bow roller fitting like Ron did. I fitted the new bow rollers further aft than Ron did, almost to the bow pulpit forward stanchion fittings. I removed the vertical Phillips head bolt from the existing fitting and aligned the inside forward hole of the CRM-l over the top of that hole and reused the Phillips heat bolt to secure the CRM-1 to the bow. The bow pulpit was not quite uniform in its mounting, so I ended up grinding the aft starboard corner of the starboard bow roller. Unlike Ron, I did not contour the inside lip of the bow rollers to the existing fore stay fitting. I had positioned the bow rollers further aft to get a larger contact area with the boat, and did not want to weaken the new rollers by removing this metal. I used the metal removed from the original bow rollers as backing plates for the aft two bolts of the new rollers. I next secured the CRM-1 horizontally to the head stay fitting by a 3/8” bolt through a hole drilled in the inside vertical lip of the CRM-l to the existing hole left by the removal of the old roller, as Ron did. To further stiffen the bow roller, I wanted to tie the two rollers together at the roller bolt. I removed the roller bolts from the CRM-1 and bought a 12" SS bolt of the same diameter and fabricated a spacer that fit between the two bow rollers from a 1/2 inch piece of SS tubing. I then threaded the new longer bolt through the two bow rollers placing the spacer between them. I included the security bails that came with both of the bow rollers.
