Difference between revisions of "Sink Access"
| Line 10: | Line 10: | ||
[[image:26.jpg|thumb|300px|Cushion in place]] | [[image:26.jpg|thumb|300px|Cushion in place]] | ||
BEGIN ADDING PROJECT TEXT HERE.... | BEGIN ADDING PROJECT TEXT HERE.... | ||
| + | I recently had Kitty's Cat surveyed. | ||
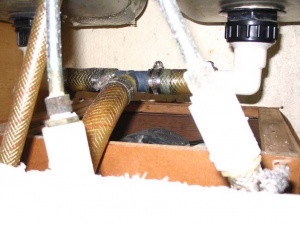
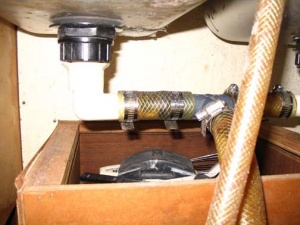
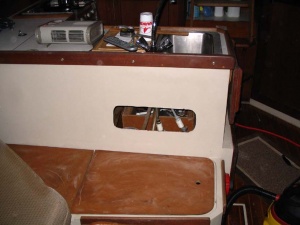
| + | During the survey, I followed the surveyor around and when he had difficulty getting to the faucet to check a fitting, it gave me an idea. I also wanted to do some of the great sink upgrades on the C-34 Association's project page; but, had trouble getting to the sink bottom from the two access points through the drawer and hot water heater door. So, after checking with the admiral, I set off to add an access point behind the galley sink. | ||
| + | |||
| + | The tools I used for this project were a Dremel tool with cutting bit and cutting guide. I also used a Dremel sanding stone and sanding block with 80 grit paper. | ||
| + | |||
| + | I measured out an area 7 x 18 inches that was centered on the back of the sink and located roughly at what I thought was the bottom of the sink. My next step was to mark out the area. | ||
| + | |||
| + | The cutting begins! | ||
Revision as of 12:16, 20 January 2009
How to gain access to the back of your galley sink
By Lance Jones, Kitty's Cat #622 (1988)
BEGIN ADDING PROJECT TEXT HERE.... I recently had Kitty's Cat surveyed. During the survey, I followed the surveyor around and when he had difficulty getting to the faucet to check a fitting, it gave me an idea. I also wanted to do some of the great sink upgrades on the C-34 Association's project page; but, had trouble getting to the sink bottom from the two access points through the drawer and hot water heater door. So, after checking with the admiral, I set off to add an access point behind the galley sink.
The tools I used for this project were a Dremel tool with cutting bit and cutting guide. I also used a Dremel sanding stone and sanding block with 80 grit paper.
I measured out an area 7 x 18 inches that was centered on the back of the sink and located roughly at what I thought was the bottom of the sink. My next step was to mark out the area.
The cutting begins!


